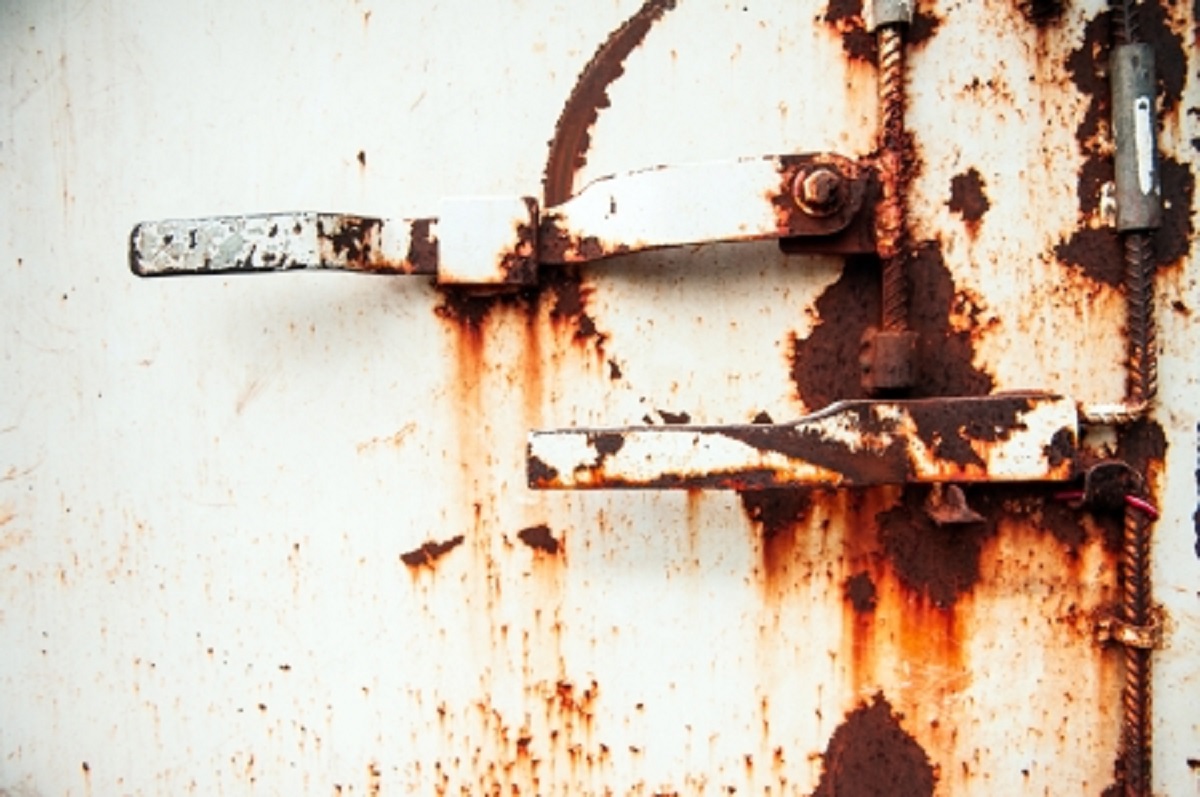
Most car owners do not want to see rust spots developing on their car, and they certainly don’t want those spots to remain there. For one, if they ever want to sell their vehicle, any sign of rust on the surface will drop the car’s resale price down significantly. Even for owners who intend to keep their cars for many more years, they likely want their vehicle to look its best. If surface rust has started developing on a spot on a car—whether from chips on the paint or broken paint over a dented area—there are steps car owners can take to quickly get their vehicle back into great shape, which can be found below.
Prepare the Rusted Spot
To begin, you must prepare the rusted area to accept any paint. For car bodies, this process also repairs the area by creating the right shaped surface—smooth and defect-free. The better way to create this ideal surface is by using a handheld electric grinder. A 150-grit sanding wheel will create your smooth surface while you watch for the point when you cannot feel the differences between the unpainted and painted surfaces with your hands.
The sanding wheel should remove most of the rust, but don’t worry if it has not yet. When you’ve finished, feel again for any drop-off between the unpainted and painted surfaces. From here, use a metal grinding wheel for removing actual rust, but be careful—the wheel can remove much material very fast, so work slowly. Besides removing the remaining rust, the metal grinding wheel smooths out pits or pock marks the rust may have left on the car’s sheet metal.
Once you’ve removed the rust that you can with the metal grinding wheel, move to 150-grit sandpaper, which removes any more rust spots and perfects the transition between bare metal and painted edge. Go slowly here, as this step will make or break your finish’s quality.
Priming and Painting
Once the surface is fully prepared, tape off the area with blue painter’s tape. Start by applying three really thin coats of first-rate auto body primer, with ten minutes in between each layer to provide added strength for the paint. After applying the last coat, let the primer sit overnight to fully cure. Once the primer is completely dried, very lightly sand the surface with 150-grit sandpaper. This ensures the area is smooth and that any dust in the primer is knocked off.
Now, apply your paint in thin coats as you did with the primer. Three coats should be enough, but four coats or more may provide a deeper finish. If the color is matched exactly, try using more so the restored area blends better, but if the color isn’t an exact match, three coats should be adequate and won’t make the area stand out. Allow the paint to dry in between coats for at least two hours—your paint’s label may also have a recommendation. Once the last coating of paint has cured overnight, wash and wax the whole car to help blend the restored area in with the rest of your finish.
Think you or someone you know is in need of Behind the Wheel Training? Training Wheels is an Atlantic City driving school specializing in teaching new teen drivers how to stay safe on the road. For more information on our lessons, please click here.
Copyright: samnao / 123RF Stock Photo

