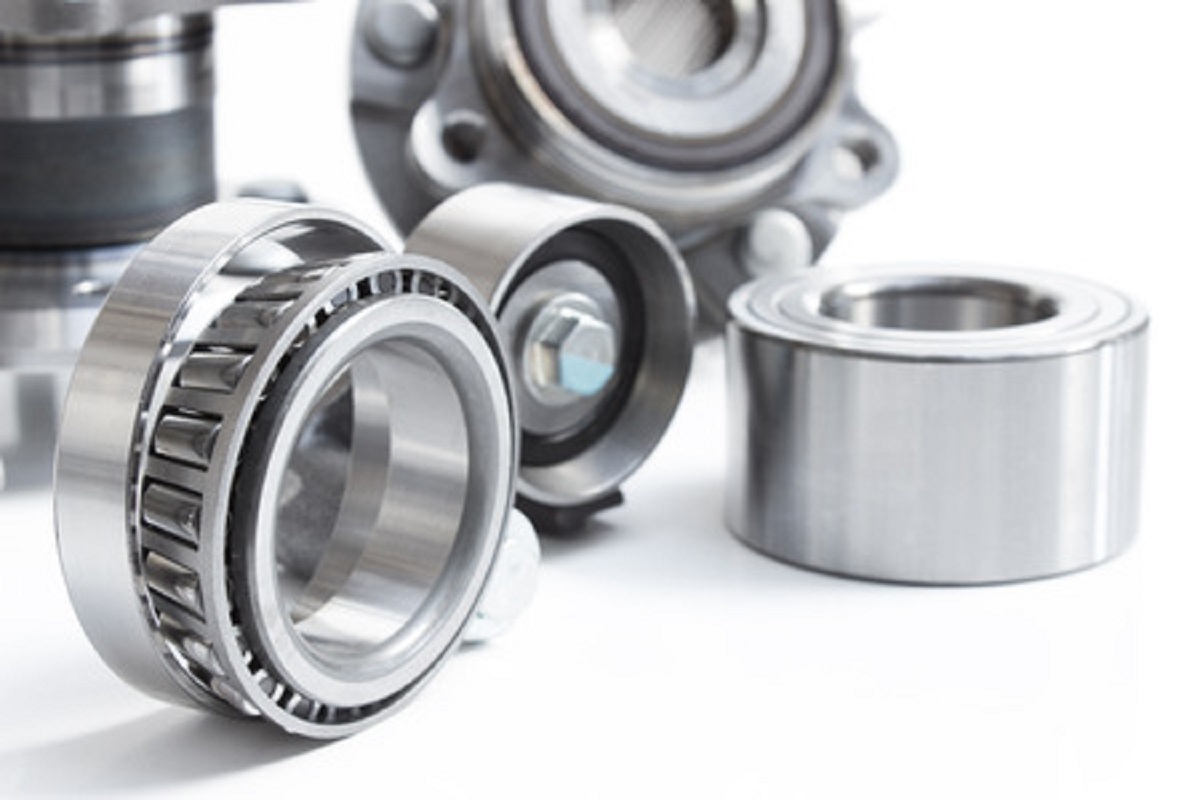
The part of your vehicle that allows the wheels to spin easily and with minimal friction would be the wheel bearings, which are steel balls housed in a metal case (race) within the wheel hub. When drivers start hearing humming or moaning sounds while behind the wheel, it’s likely a wheel bearing beginning to fail. The task of changing wheel bearings yourself is a moderately difficult one for a home job, and it may require specialty mechanic tools. If you think you’re up for the task, the steps below cover the job, but make sure to check your vehicle’s manual for the bearing type your vehicle uses before attempting the repair.
Preparing the Vehicle
The job of replacing wheel bearings requires some necessary prep work before diving in, including gathering the following materials: bearing grease, floor jack, diagonal cutters, pliers, gloves, safety glasses, ratchet (0.5 inch with 21mm or 19mm socket), socket set (⅜ socket set 10-19mm), safety jack stand, wheel chocks, torque wrench, and screwdriver. To prepare the vehicle, follow the steps below:
- Place chocks behind the wheels, parking the car on a level, flat surface. Block the tire that is opposite the wheel you plan to work on first.
- Loosen the lug nuts for the tire you plan to remove, using the ½ inch ratchet with a right sized socket, but don’t completely remove them yet.
- Lift the vehicle up securely using a floor jack and safety jack stands. Check your car owner’s manual for info on your vehicle’s proper lift points.
- Once the vehicle has been lifted, take the lug nuts off completely and remove your tire.
Installing New Bearings
- Remove both the disc brake caliper and its bracket from off the spindle using a ratchet and a ⅜ socket. Use your screwdriver for removing the actual caliper.
- If your wheel bearings are inside the disc brake rotor, you must pry the central dust cap off to expose the retaining nut and cotter pin. To do this, use pliers to remove the retaining nut and cotter pin, sliding the rotor forward in order to remove the outer wheel bearing.
- Now, replace the retaining nut and, using both hands, grab the rotor, pull it from the spindle (letting the inner wheel bearing to be caught on the retaining nut) and release both the wheel bearing and the grease seal from your rotor.
- Set the rotor onto the floor face down. Take your new inner wheel bearing and proceed to rub bearing grease in the casing. Do this while wearing gloves, scooping a good amount of grease into your hand and rubbing the bearing, thereby forcing the grease down into the casing.
- Set the new wheel bearing into the back end of the rotor, applying grease to the bearing cavity’s interior. Install a new bearing seal on the new inner bearing before sliding the rotor back onto the spindle. Pack the new outer bearing with grease before sliding it onto the spindle. Install both the thrust washer and the retaining nut on to the spindle.
- Tighten your retaining nut till it’s snug, turning the rotor in a counterclockwise motion simultaneously. Tighten your retaining nut a quarter turn beyond snug before installing the new cotter pin.
Reassembly
- With the new bearing installed, both your brake rotor and the caliper can be put back on the vehicle with a ratchet and the previously used, correct sockets.
- Replace the tire and then tighten your lug nuts with your hand. Supporting the vehicle using a floor jack, remove your safety jack stands before slowly lowering the vehicle until the tires just touch ground.
- With a torque wrench, tighten the lug nuts to the manufacturer’s specifications. Now, lower your vehicle entirely and remove your floor jack.
Once you’ve successfully changed the wheel bearings, remember to have a test drive to ensure the repair is sound. If you encounter any problems or have concerns, don’t be shy about calling a professional mechanic for help.
Think you or someone you know is in need of Behind the Wheel Training? Training Wheels is an Atlantic City driving school specializing in teaching new teen drivers how to stay safe on the road. For more information on our lessons, please click here.
Copyright: stason4ik / 123RF Stock Photo

